Tezos
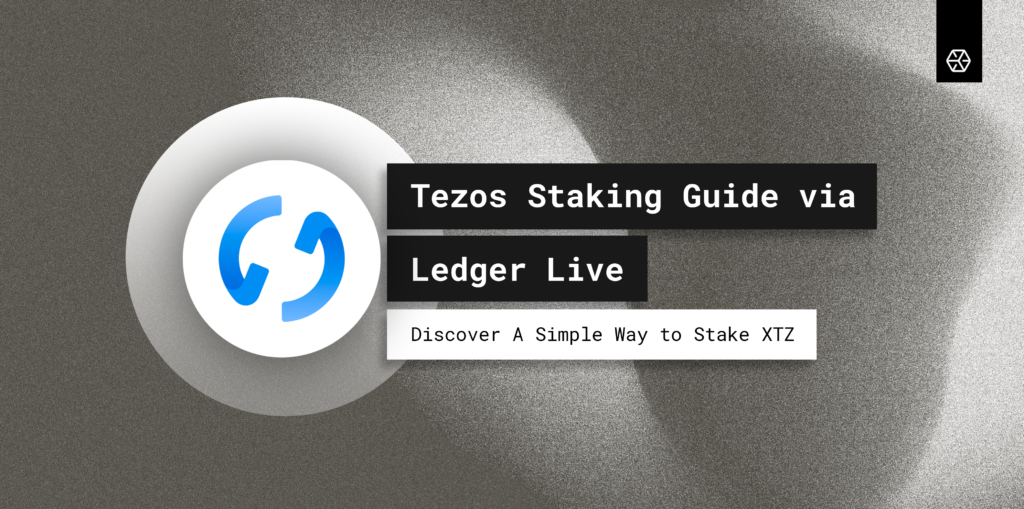
Tezos Staking Guide Via Ledger Live: A Simple Way To Stake Your XTZ
A simple guide which will walk you easily through Tezos delegation process via Ledger Live.
APR 07, 2022
Last updated APR 07, 2022 · V1
Great products, as well as technologies, are created from ideas that are molded through many years of hard work. And it’s good because during this process key things get polished and the industry gets completely functional and working solutions. In this step-by-step guide, you will discover how to stake Tezos via Ledger Live application.
Step 1: Connect Your Ledger Device and Create Tezos Account
First of all, you have to download the Ledger Live application from the official Ledger website. It’s also important to emphasize the fact that the app is available on desktop and mobile platforms like Windows, macOS, Linux, iOS, and Android.
Once you download and install the Ledger Live, connect your Ledger hardware and initialize it or use it as an initialized device.
In this material, we’ll be using the Ledger Nano S for our staking operations.
Let’s start!
Open the Ledger Live app and follow the instructions on the screen. First, connect your Ledger device to your computer

and enter the PIN code

Then you will need to Allow Ledger Manager on your device. For this, simultaneously click the buttons on your Ledger device as shown on the screen.

Here is what should be displayed on your Ledger screen. Just press two buttons, and you are in.

Now we can start creating your Tezos account. The first step is to click the ‘Portfolio’ section from the left menu section.

Click ‘Add account’.

In the search bar enter ‘Tezos’ and choose the asset from the list. Then, click ‘Continue’.

Now we need to wait a couple of seconds while the Tezos app is installed into your Ledger device. Tezos application is the thing that allows you to control and access your tezzies on Ledger. You will need it every time you want to send/receive/delegate your XTZ funds, thus be careful.

When the app is downloaded you will see an instruction to open it on your Ledger device.

Get your Ledger, you will see the following on your small screen, to open simultaneously click two buttons.

If you successfully opened the App you will see the following screen.

Now you have to name your account. I will leave Tezos 1 name but you may insert the name you would like. And press ‘Add account’.

Let’s finish the creation of the Tezos account. The last step is to click ‘Done’.

And your Tezos account is successfully created. You can now see your portfolio. Furthermore, you need to enter your account in order to top up it and start the delegation process. For this click ‘Account’ in the left menu section.

You will see your newly created Tezos account and you have to open it. Just click it.

Oops, your account is empty. But we can easily top it up with XZ funds. Press the ‘Receive’ button.

This menu will show you all your Ledger accounts, as I have only a Tezos account I don’t need to choose from. In case you have multiple accounts just choose Tezos and press ‘Continue’.

Now you have to check and verify whether the address on your screen coincides with the address on your Leder device. Don’t forget to copy your address so that you could share it to receive XTZ funds.

Click the right button on your Ledger device to check the details.

Here is the first part of your Tezoa address. Please check whether it is the same as the one on your Ledger Live screen. In my case, everything is perfect thus I click the right button on the Ledger device.

If everything is okay with your address just accept by clicking two buttons on the Ledger.

Once you verified the address, press ‘Done’.

As soon as you have received funds you will see them on your account. In order to initiate the Staking process and earn a passive income, you have to click the ‘Earn rewards’ button.

Then press ‘Delegate to earn rewards’.

On the next screen click the ‘select’ button as shown on the screen below. Because Ledger will automatically delegate your funds to a random baker. It is better to choose a reliable and active baker for your delegations, who will faithfully send out your rewards. In Tezos bakers have to send out the rewards to their delegators, unlike some other networks where it is done automatically by the protocol. Thus, in order to secure your future earnings always choose a secure and reputable baker.

Everstake is the most trusted baker in Tezos with more than 625 000 delegators whereas 54 000 are Tezos delegators only, information is up-to-date at the time of writing of the guide. It is a reputable and reliable Tezos baker with an experience of over 4 years, who diligently pays all rewards to the delegators. Everstake monitors the infrastructure 24/7 in order to secure the network and your earnings. If you have any problems or questions, please contact our support chat.
Name: Everstake
Address: tz1aRoaRhSpRYvFdyvgWLL6TGyRoGF51wDjM
Fee: 15%

Once you have chosen the baker, click ‘Continue’.

Now you have to confirm the operation on your Ledger device in order to finaliza it. Grab your Ledger and follow the instructions.

You will see the next on your Ledger device screen. Press the right button to proceed and review the request. In your Ledger you will see the following details while viewing the details: the name of the operation, your address, the fee, the address of the baker, and his name, in our case it’s Everstake.

Once you checked all the details of the operation if everything is okay find the ‘Accept’ option on your Ledger and press two buttons simultaneously.

When you accept the operation on your device you will see the pending screen on your Ledger Live app.

Congratulations! Your delegation was successfully sent, and in 37 days you will start receiving your first tezzies. Click ‘View details’ to finish the process.

Finally, on the next screen, you will see the details of your operation.

You have successfully delegated your XTZ via Ledger Live application. Please allow up to an hour for the network to confirm your delegation transaction.
In case you have any questions regarding the network cycles or anything else related to Tezos, please feel free to contact our Tezos Blockchain Manager on Twitter.
And if you face any issues with your Ledger device, or perhaps the Ledger Live app, contact their friendly support team.
Share with your network